Transform your stock clutch pedal into a clutch by wire system without the need for a welder and custom/janky brackets. For use with a clutch emulator (like this one from 8speed.au) in a DCT or 8HP transmission swap.
These nylon brackets bolt to your clutch pedal assembly, and are designed to work with the Haltech 011201 linear potentiometers. Simply drill a few 4mm holes, bolt it up, and get on with the rest of your 8hp install without any fuss.
Comes with:
Installation Instructions
Step 1: Remove clutch pedal assembly from the car
Step 2: Place bracket over the pedal assembly, and mark the three mounting holes
Step 3: Drill the three holes, and use the supplied M4 bolts to bolt the bracket to the Pedal assembly.
Step 4: Attach your Haltech Sensor with the FIXED end (the one with the wire) to the bracket.
Step 5: Fully depress the Clutch pedal (watch your fingers!)
Step 6: Fully extend the Haltech Linear Potentiometer. Mark the position on the pedal.
Step 7: Drill a 4mm hole in the clutch pedal, and bolt on the sensor.
Step 8: Test the actuation to ensure the potentiometer and pedal move freely.
Step 9: Bolt it back up to the car!
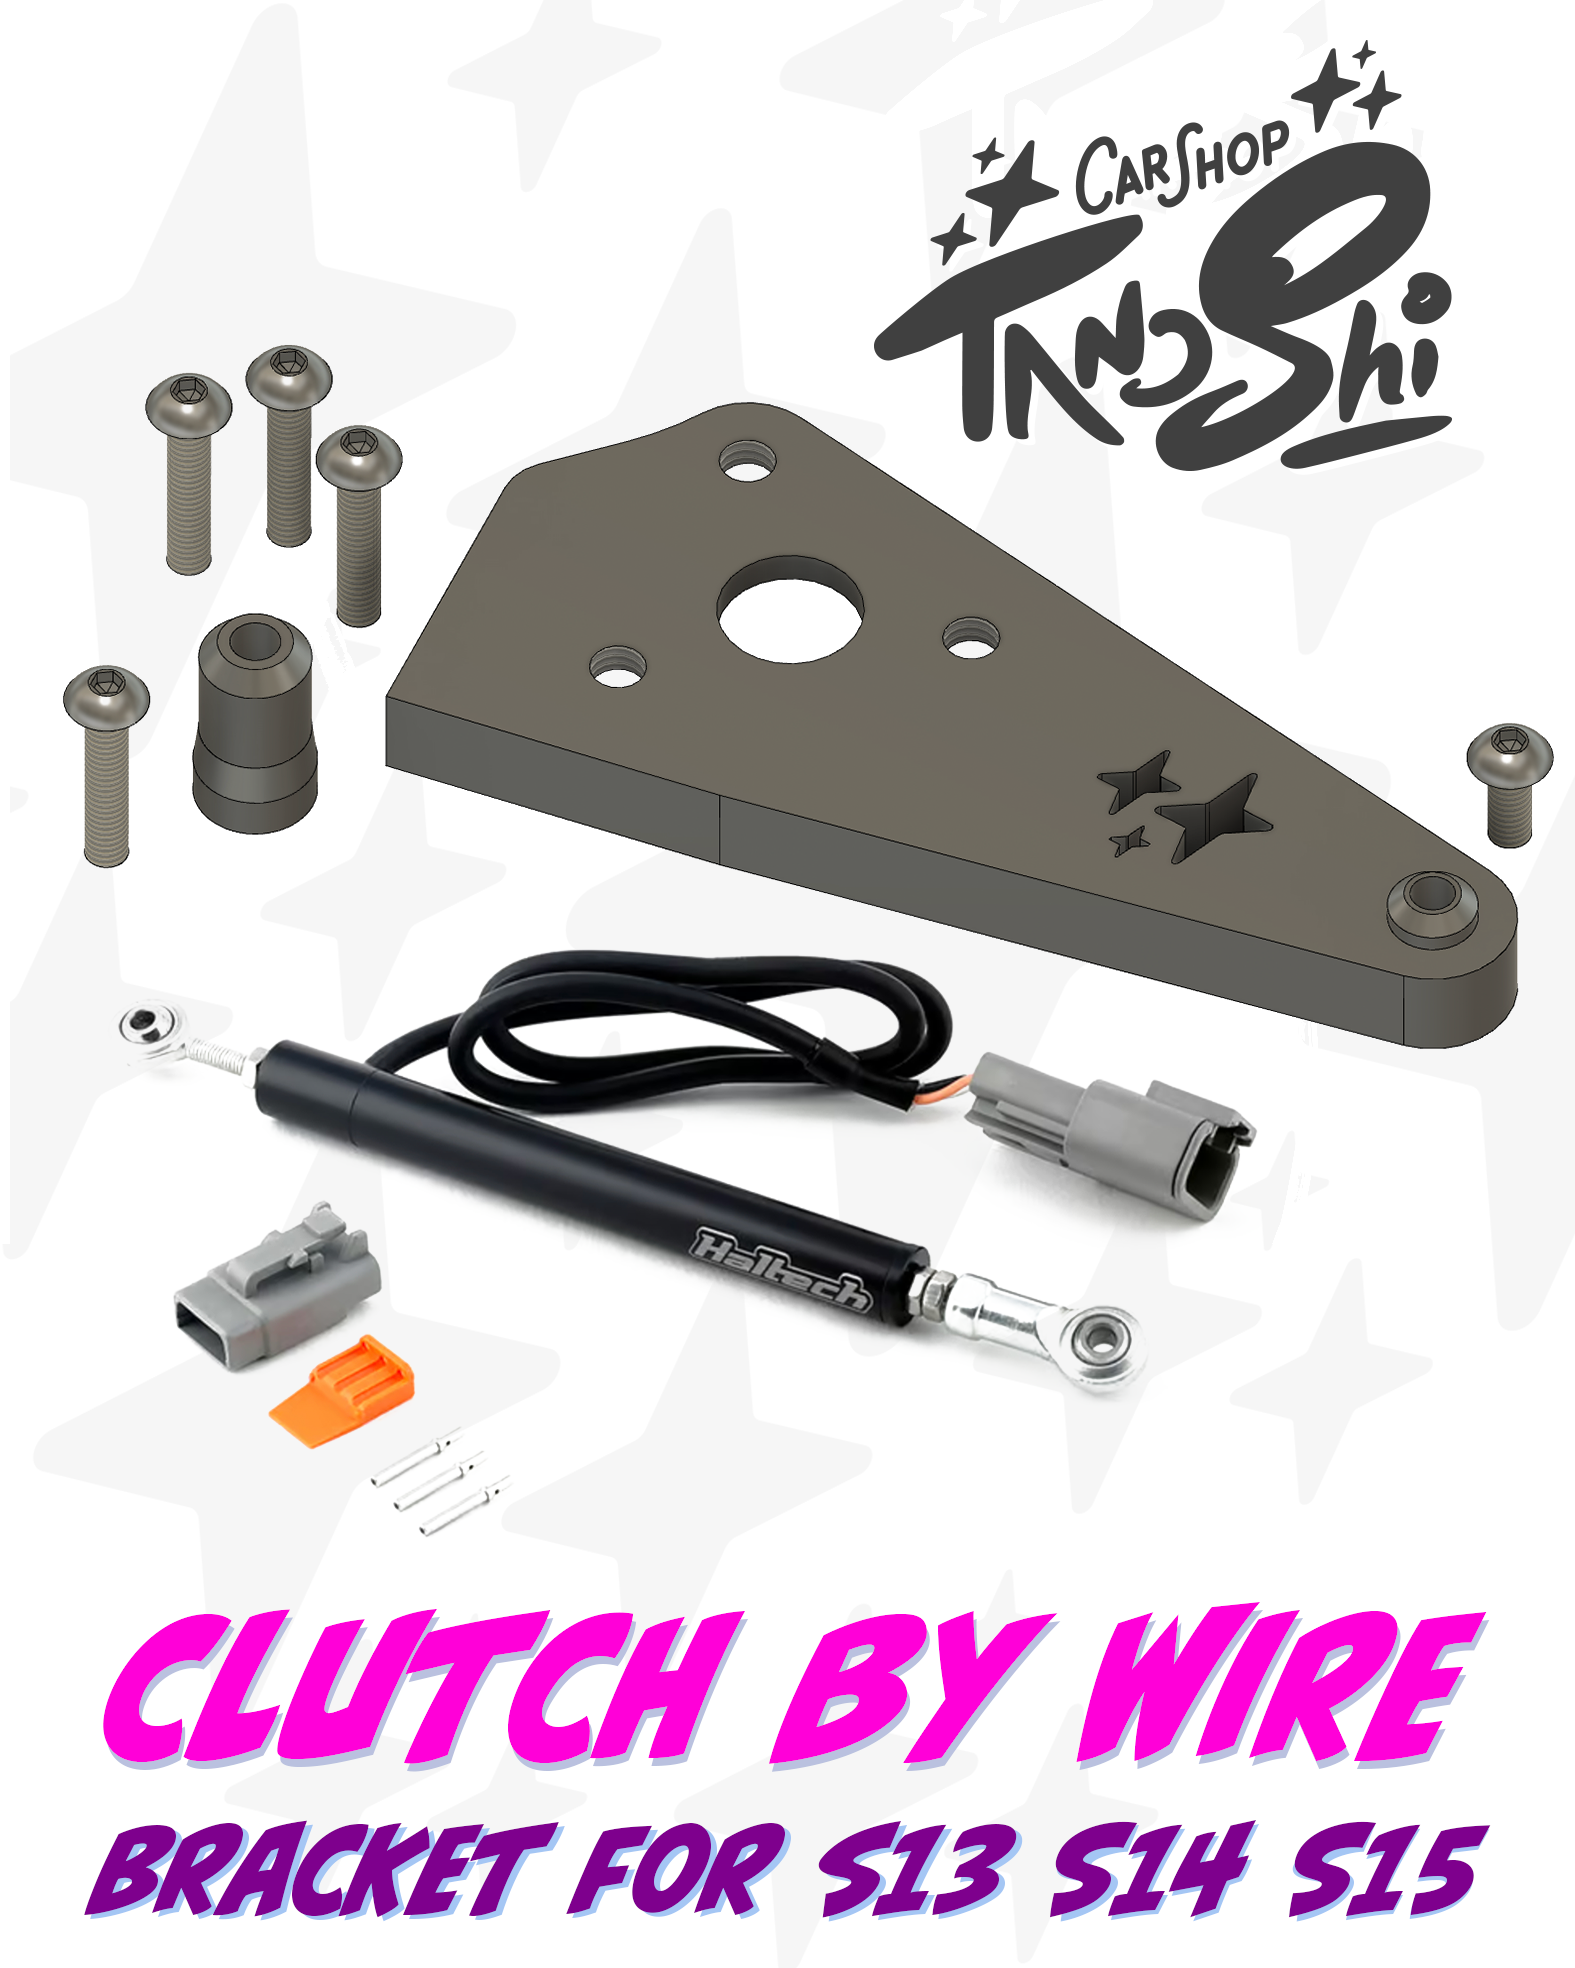 Image 1 of 11
 Image 2 of 11
 Image 3 of 11
 Image 4 of 11
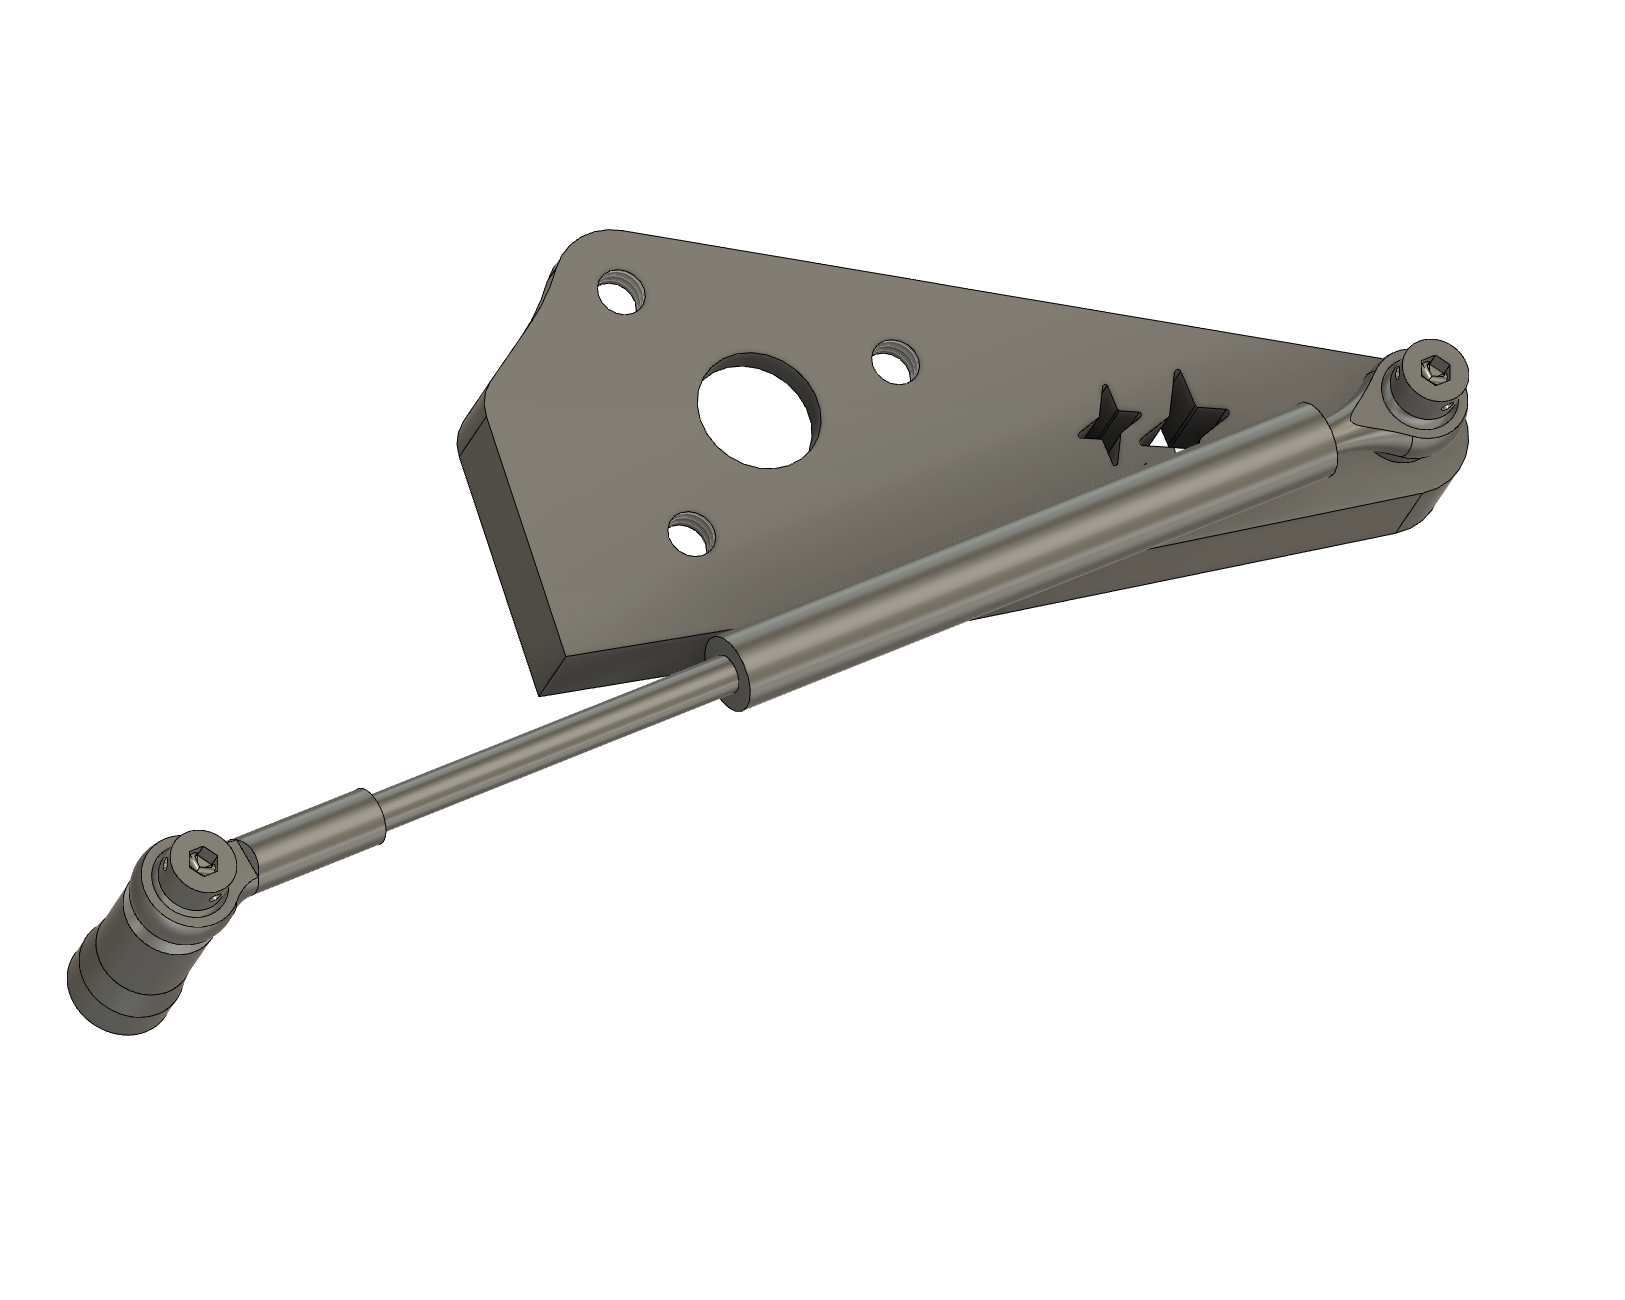 Image 5 of 11
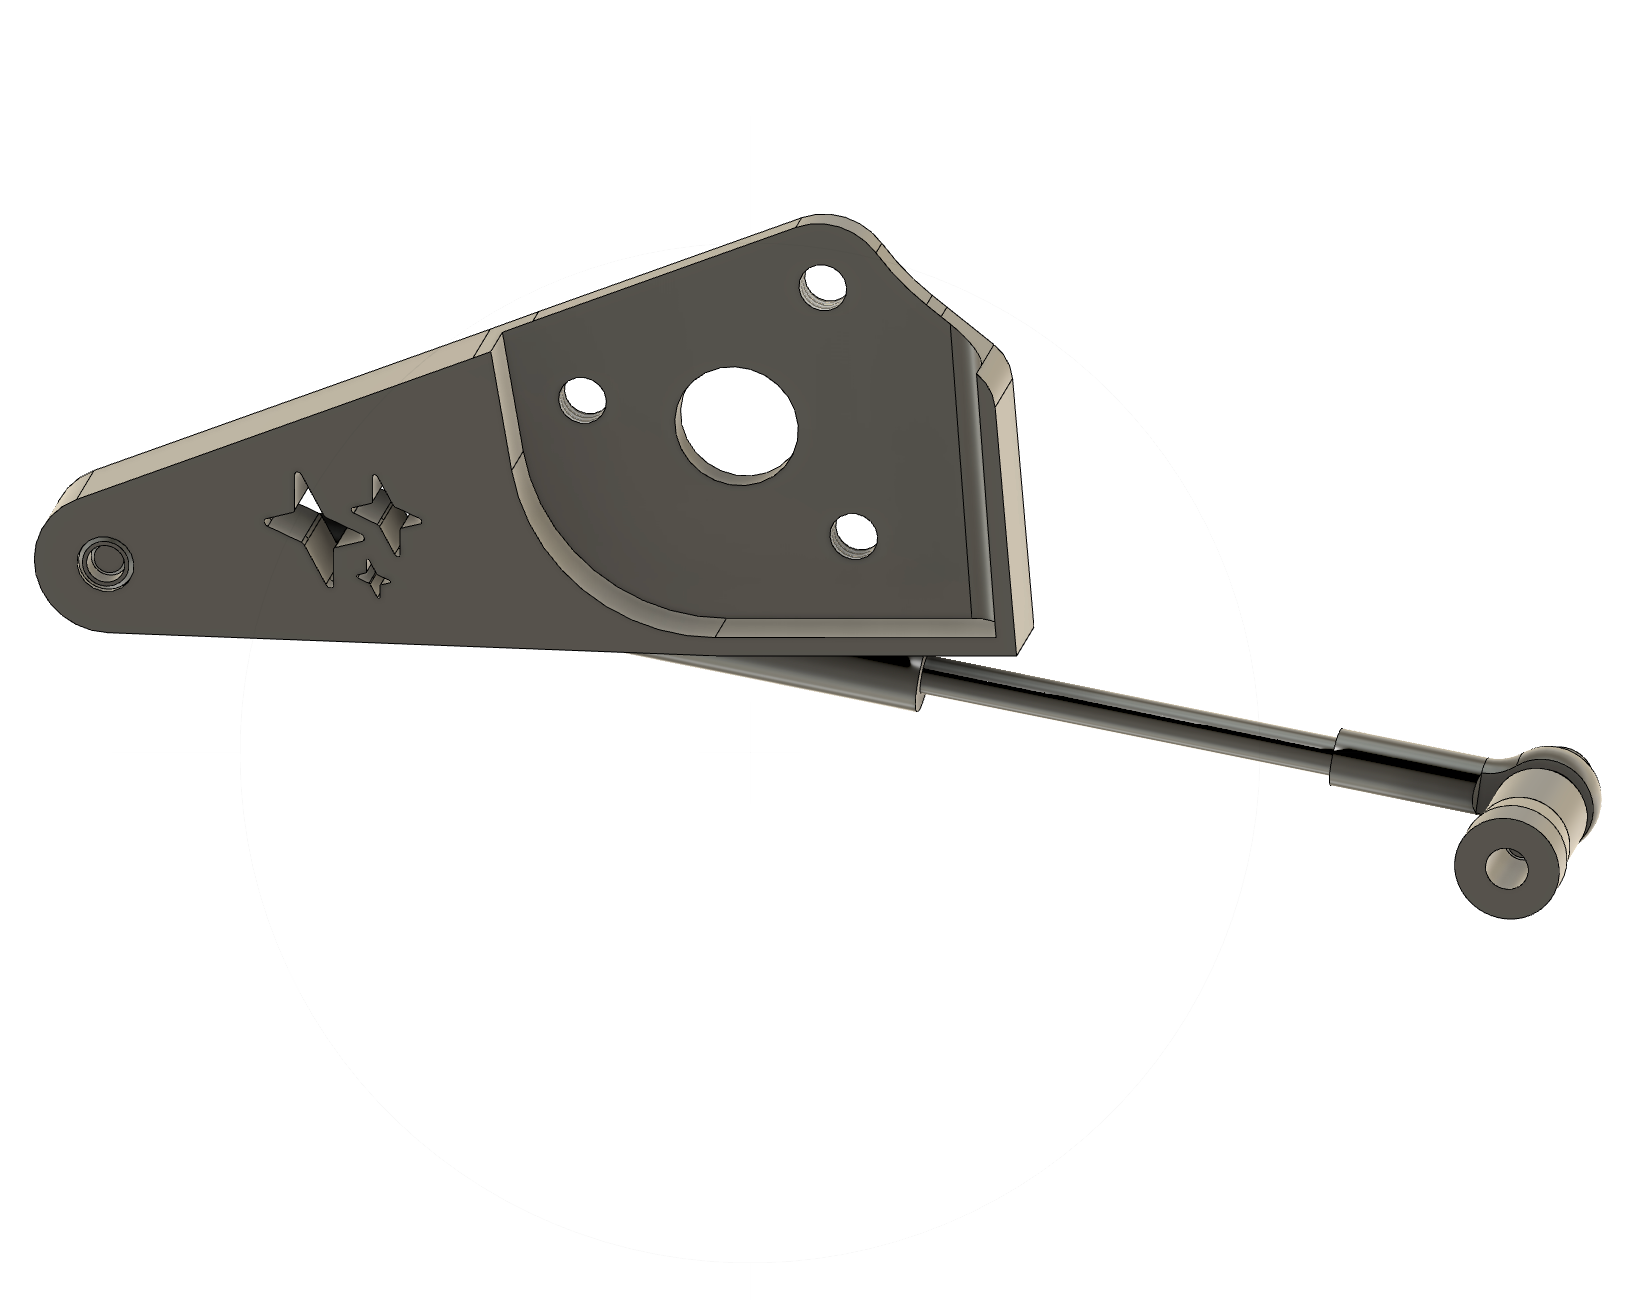 Image 6 of 11
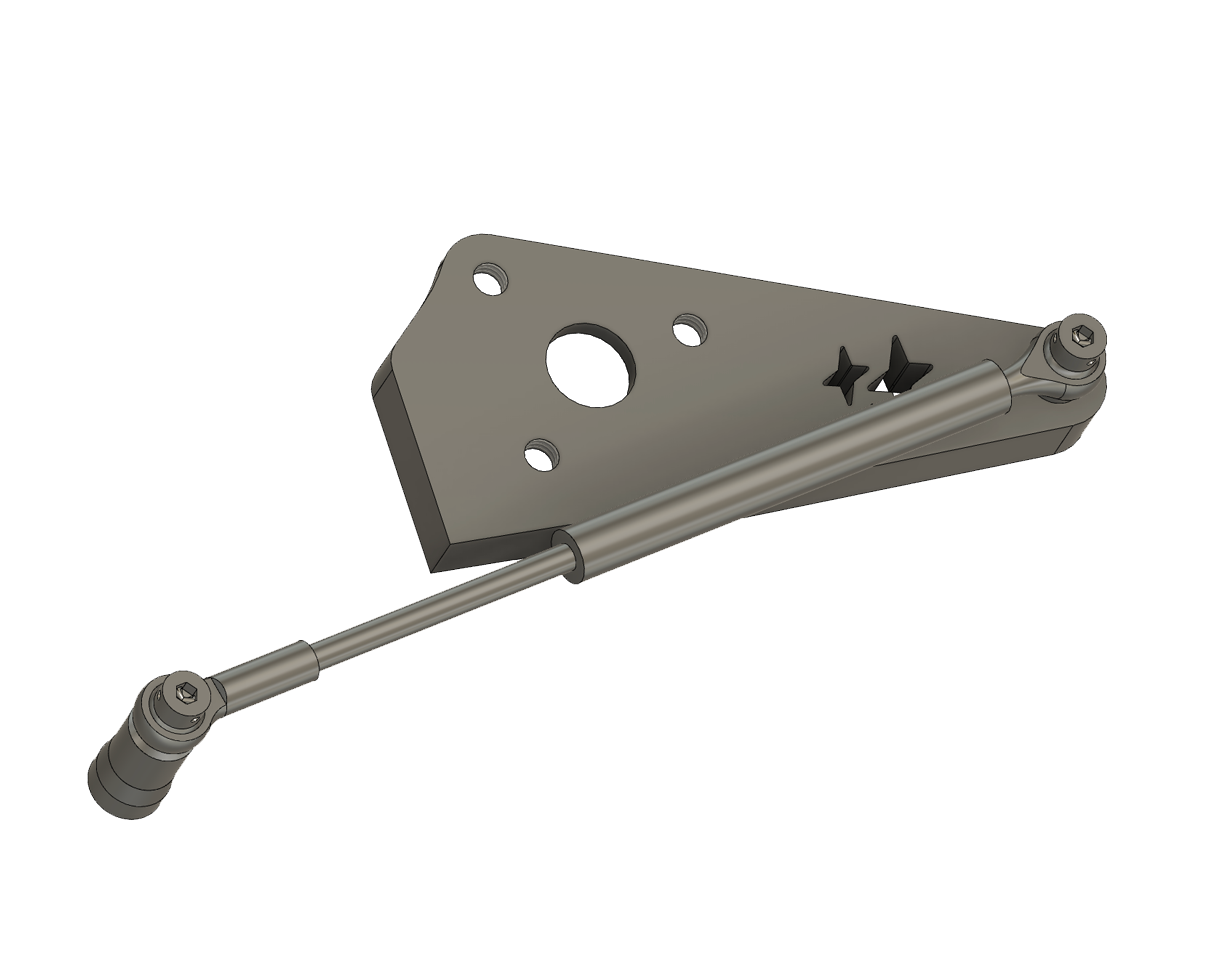 Image 7 of 11
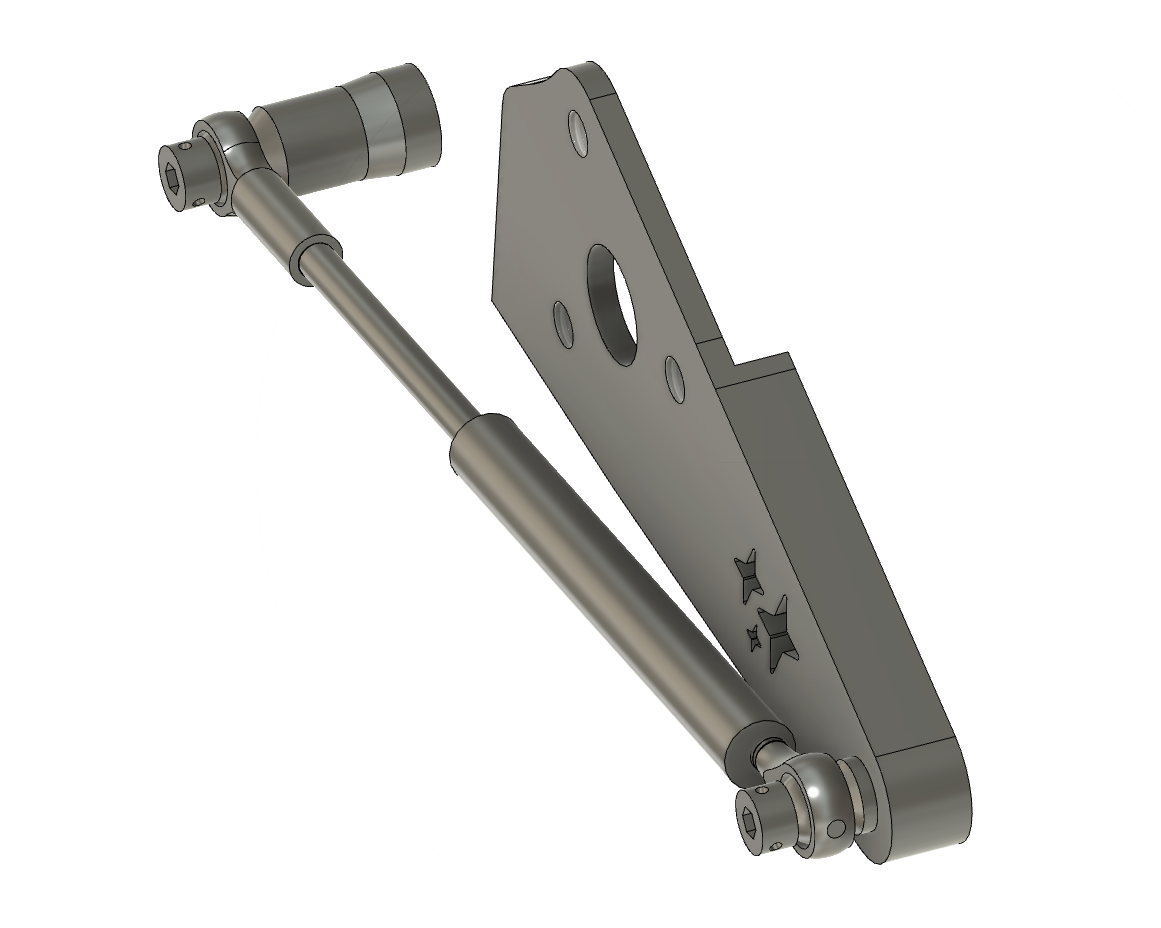 Image 8 of 11
 Image 9 of 11
 Image 10 of 11
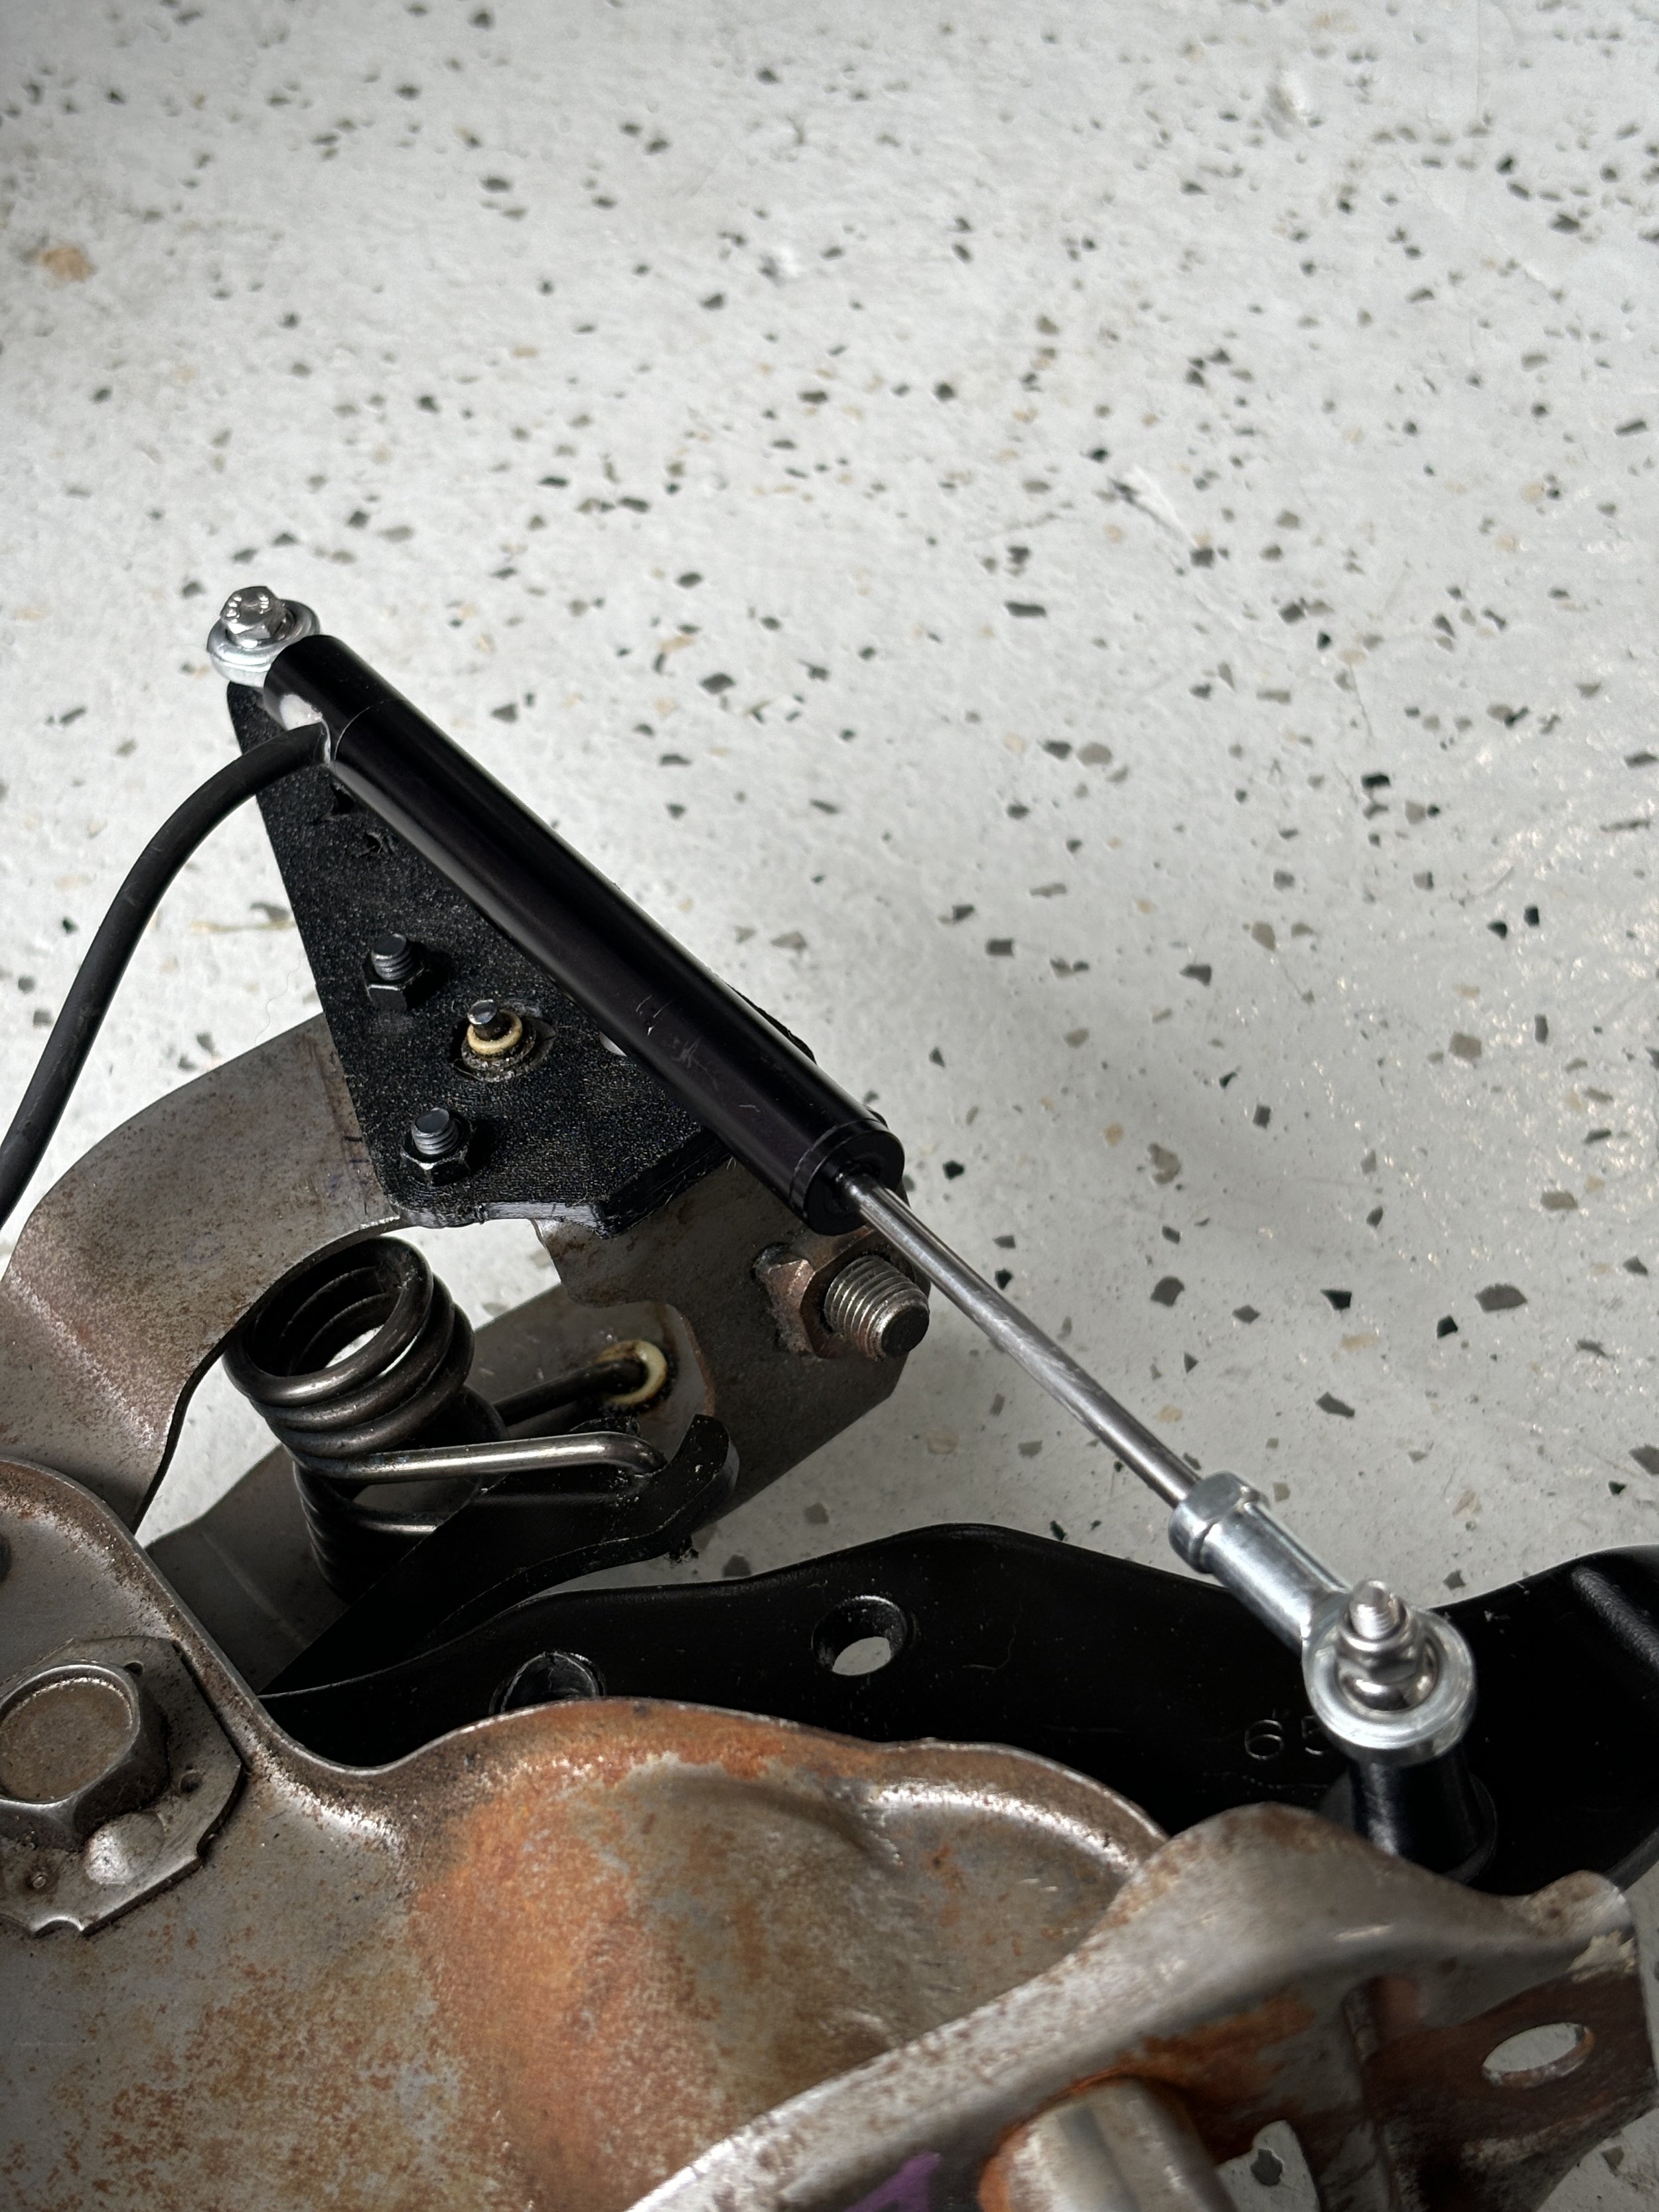 Image 11 of 11